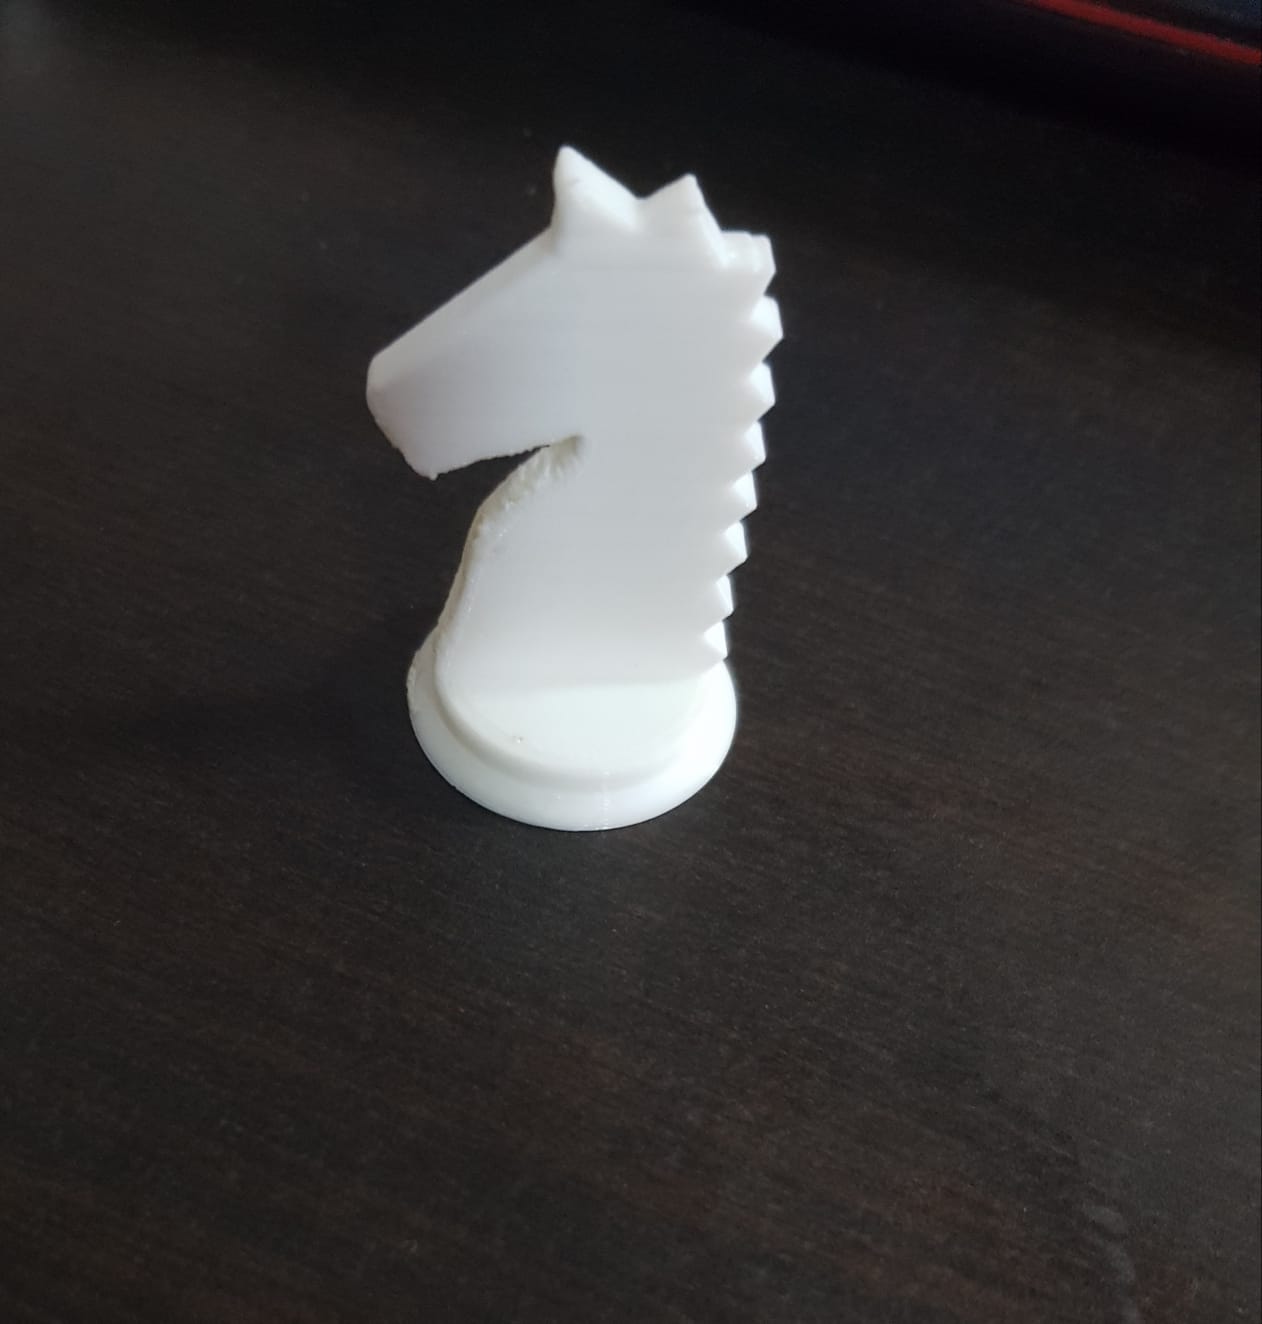
3D Printing
On this page, I will be showing on how I used Fusion 360 to create a horse chess piece to 3D print.
3D Print a horse chess piece
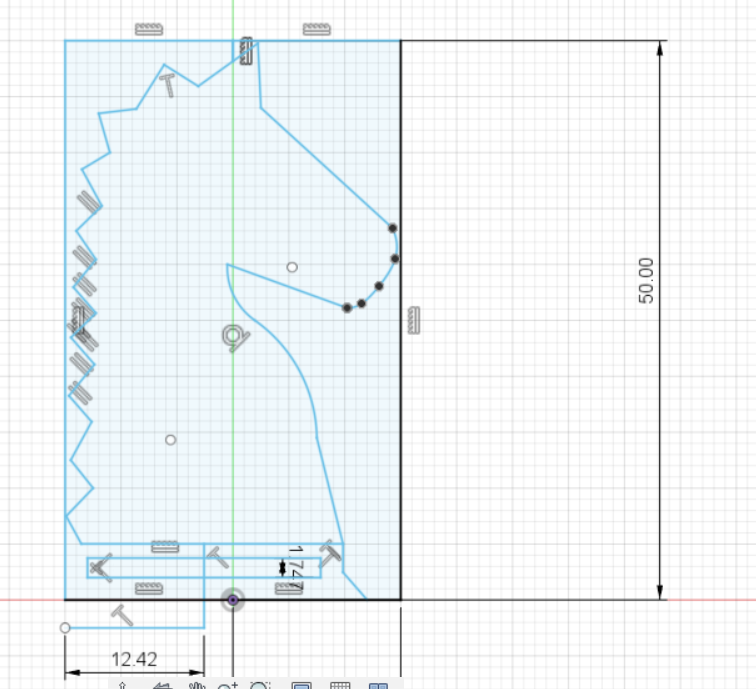
Step 1
The first step is to open Fusion 360 and insert canvas under the insert tab under solids. Then from here, trace out the outline of the horse chess piece and the base you want to create.

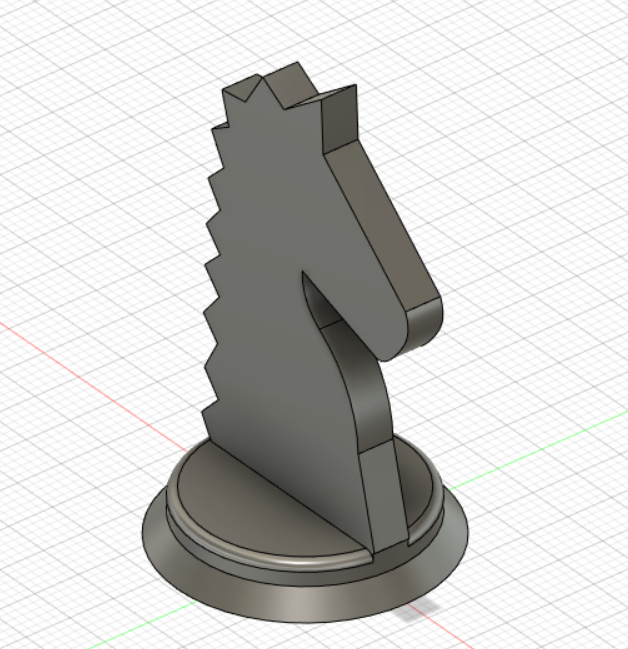
Step 2
The second step is to revolve the chess piece and fillet it so that the inside is empty to reduce the time taken to 3D print the chess piece.
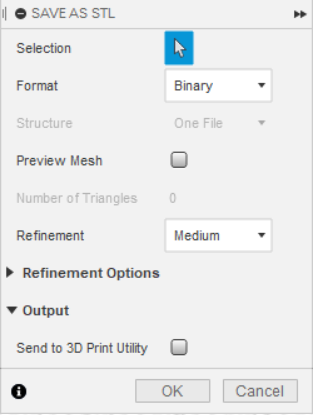
Step 3
The third step is to save the body of the horse chess piece as a STL file for it to be readable by the 3D printer.
Step 4
In this step, we import the file to Cura for it to show the properties of the 3D printer you chosen and change the settings to your preference.
- do place supports so that the chess piece would not turn out to be ugly/not accurate
- my layer height = 0.3mm
- my infill rate = 8-10% to reduce the time taken
Step 5
The last step is to send it to your 3D printer and print. Enjoy your time waiting and peel out the supports printed, and that will be your end product.